Showing posts with label bananas. Show all posts

Monday, October 31, 2011

Edible Jack O'Lantern


Happy Halloween everybody! In celebration of this wonderful holiday, I have created a non-traditional jack o'lantern. You see, us college folks aren't allowed to have the large knives required to carve a pumpkin. And we aren't allowed to light the candle inside the pumpkin. And we don't have a front porch to place them on. So, instead, I made this. It was fairly simple, quite delicious, and close to nutritious. So here's how it works:
First, toast a piece of bread. It doesn't necessarily have to be completely toasted (in fact, I personally prefer it that way), but it needs to be warm and fairly solid (you'll be cutting it into a pumpkin shape later...or now, if you find that easier...which you probably will).
Then, spread a very generous amount of Nutella on your piece of toast. Come on, it's Halloween, you're allowed to get a little out of control.

It'll end up looking like this (except not sideways...I have no idea why my photos sometimes turn sideways when they're being uploaded. I took this picture portrait style. There's no reason it should look like that, and it doesn't when I look at the actual file. hmmmm....maybe there's a phantom haunting my computer....Anyway,)
Next comes the fun part. Making the face. Take a banana and cut it in half length-ways. Then, cut out the curviest part of the banana and use this as the mouth. Cut out pieces to make missing teeth.
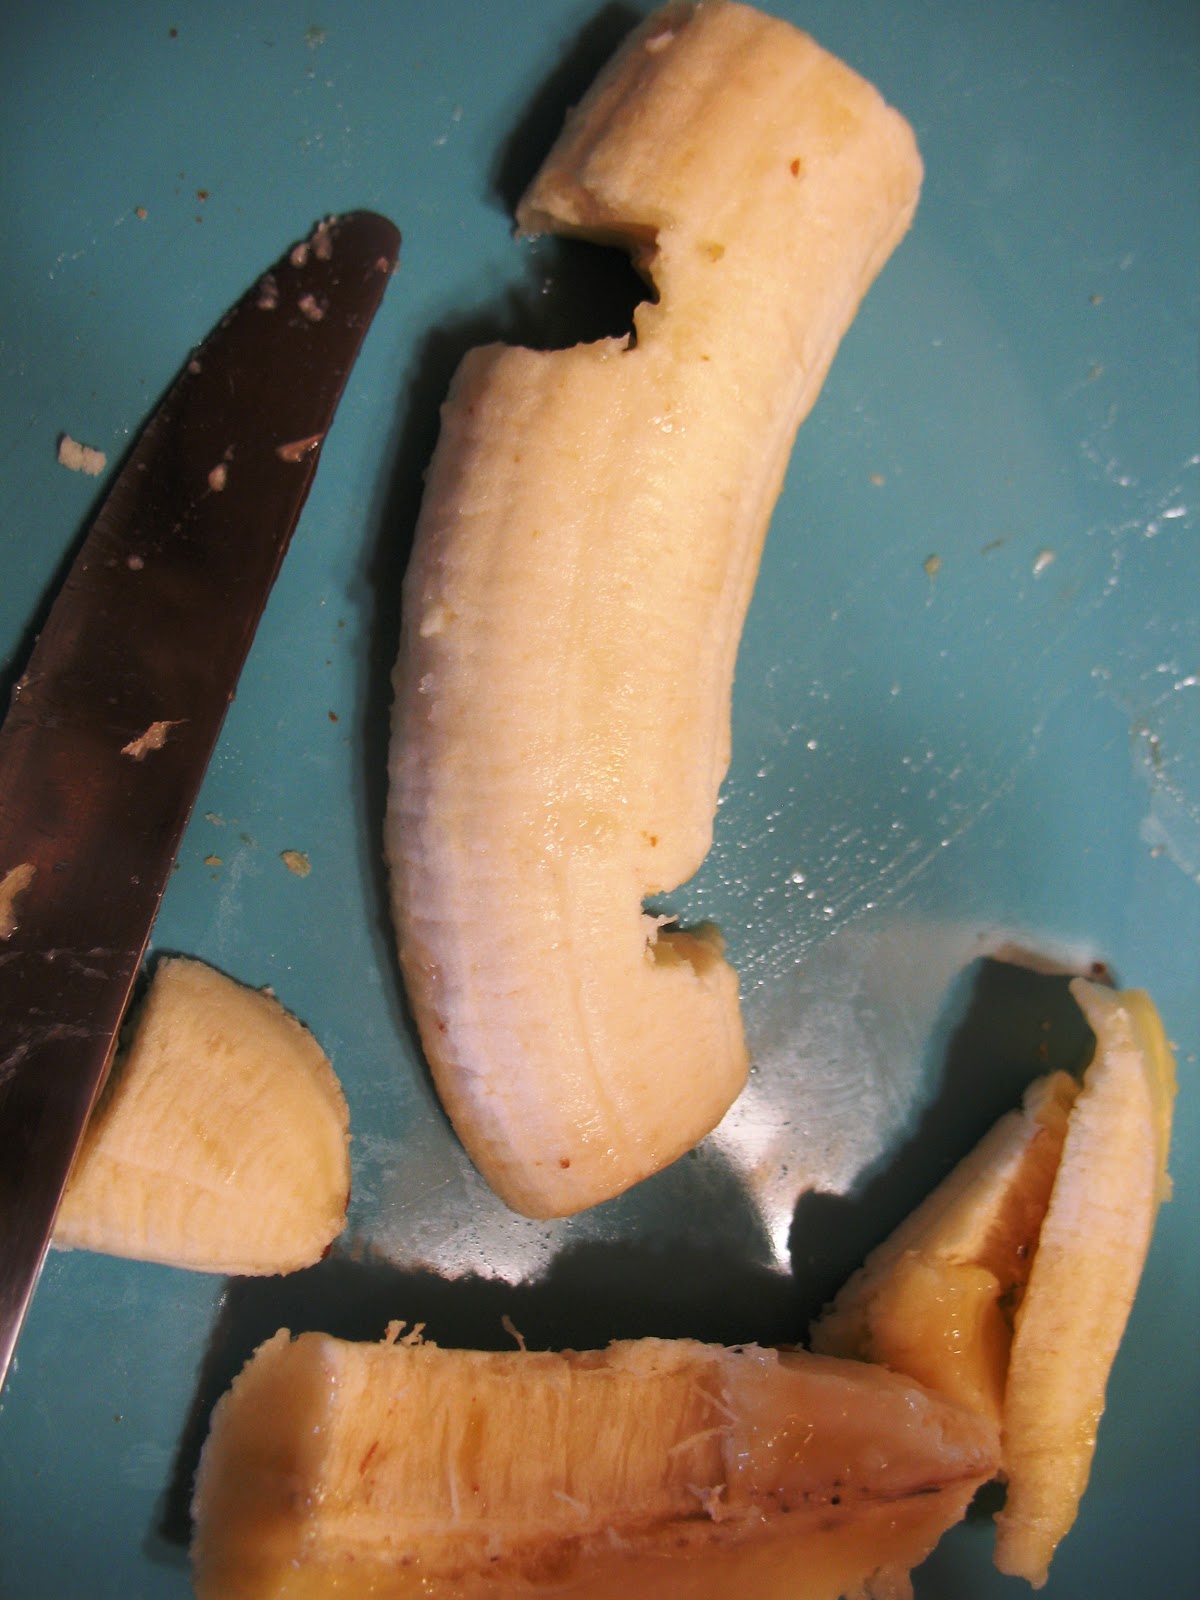
(Again, I have no idea why it appears vertically on here. The file itself is not like that. grrrrr...). Be sure to keep the stem of your banana. Now, place this on your piece of toast where you think the mouth should go. (If you haven't already cut your toast into a pumpkin-shape, make sure to keep some room so you can do this later).
Next comes the eyes. You can use whatever you want/have available for this part. I thought of using cheerios because I happen to have some, but ultimately decided on raspberries because I want to use them before they go bad. I loved how the raspberries turned out, though. It made my jack o'lantern look blood thirsty. To make eyes like mine, using raspberries, first clean your raspberry (you should only need one). Then, slice off the bottom tip. Then, slice the remaining piece in half so that you have two rings.


Now, place these on your jack o'lantern where you think the eyes should go.
For the nose, I used an oddly-shaped banana chip. But you can use whatever nose-shaped food you have lying around. Place this where you think the nose should go.
Next, cut the toast into a pumpkin shape, being careful not to cut the mouth or eyes. (if you haven't done so already).
Finally, use the step of your banana from earlier and place it at the top, so that it acts as the "pumpkin stem".
And, voila: an edible jack o'lantern.

Feel free to eat the scraps as you go (that way you are able to have all the nutrition and deliciousness of a full banana....plus, you paid for this food, why would you want to waste any of it?). And be sure to eat, enjoy, and clean up the mess. Because if you used two plates like I did, there's definitely going to be a mess. And messes like this could be the scariest part of your Halloween.

Dorm Food

 Subscribe in a reader

Sunday, September 25, 2011

Vegan Banana Bread


Last week I bought a pound of bananas that became bruised on my bike ride home (perhaps because I put several cans and a half gallon of milk on top of them in my bag...). I ate 2 of the bananas over the week, but eventually they were too ripe to eat (the fact that they were already bruised allowed them to ripen much faster). So, the area around my bed (under which I keep all of my food) smelled of bananas these past couple days. But we couldn't eat them. So it came down to two things: either we could waste the bananas and throw them in the trash like so many unfortunate vegetables from our fridge, or we could make banana bread. I think we made the proper choice.

Anna being vegan, we decided to make vegan banana bread from scratch. This actually meant that we used fewer ingredients, which is always a plus in dorm cooking. And it actually tasted much better than normal banana bread. So, I will share the recipe with you.
Since there are so many ingredients, I will share with you ahead of time what they were.

4 very ripened bananas
2 tablespoons of vegetable oil
1 1/2 cups of flour
3/4 cup sugar
1 teaspoon salt
1 teaspoon baking soda
1/2 cup of walnuts
Cooking spray
2 bread pans
1 fork
1 spoon
1 knife

First, in a large bowl (or sauce pan, in our case, since we didn't have a mixing bowl), mash the 4 bananas. We did this using a fork, which worked pretty well. They should be mashed to the point that it looks creamy. Then, mix in the 2 tablespoons of vegetable oil.
Next, add the flour, sugar, salt, and baking soda. Stir this well. This can be done with any spoon you happen to have.
Then, chop the walnuts into coarse pieces (into 1/2s and 1/3s). This can be done with a standard knife. Mix the nuts into the bowl. (If you are allergic to nuts or simply don't like them, you can of course skip this step.)
Now, pour the well blended batter into 2 greased bread pans. (As bread pans turn out to be quite expensive, we bought the disposable metal kind from the baking section for only a couple dollars, which worked just fine as a pan). If you are using walnuts, you can add some whole onto the top, to make a pretty design. However, they tend to crisp easily in the oven, so I do not recommend this.
Finally cook at 350 degrees (make sure to preheat the oven before you put the bread in) for anywhere between 45 minutes and an hour. We're not quite sure how much time it needs because we had ours in for an hour and the edges started to get quite crispy after 50 minutes, so we assume 45 minutes is probably a good time. Just keep checking on it every now and then.
Remove from the oven, and let cool. Then, you'll be ready to eat, enjoy, and clean up the wonderful mess (I recommend doing this as you wait for the bread to cook or as you wait for it to cool, as you'll have quite a bit of time to kill).


This recipe turned out really well. The inner part of the bread was super chewy and delightful. And the outer part of the bread was strong enough to keep intact. As it's not made with butter like the standard recipe, it does not taste buttery. Instead, you really get the natural flavors of the banana. It is a tad sweet, but it's banana bread, it's supposed to be sweet.
I HIGHLY RECOMMEND THIS RECIPE. It was honestly so good. And as it was baking, people from all over the dorm kept coming by to tell us how good it smelled (you could smell it everywhere on our floor...we became quite the popular girls). If you want to, you could double the recipe and make enough to share with the rest of the floor, which would make you super popular. But, we didn't have enough bananas (or foresight) to do that ourselves.