
My mother's birthday is Halloween. You may remember that from the last time I made a cake for her birthday. Last time I tried my hand at latticed frosting, but this time my experimentation wasn't immediately obvious. The cake sat out on the counter looking pretty for most of our family gathering. My grandmother even commented on the cake to my mother, thinking it had been purchased from a bakery. Now, that makes me feel just a little bit of pride. Especially since, really, it looked like a simple tiered cake, with white frosting, orange sprinkles on top, store bought chocolate covered pretzels on the side, and chunks of broken Hershey's bars on the bottom tier.
The surprise came later, when we finally cut the cake. I had been waiting eagerly while my aunts and grandparents and siblings and assorted guests discussed, well, just about everything. Come on, get to the cake, I kept thinking impatiently. But finally, it was time.
Are you ready for the surprise about this cake? Well, find your seats everybody. It's time for the grande finalle:
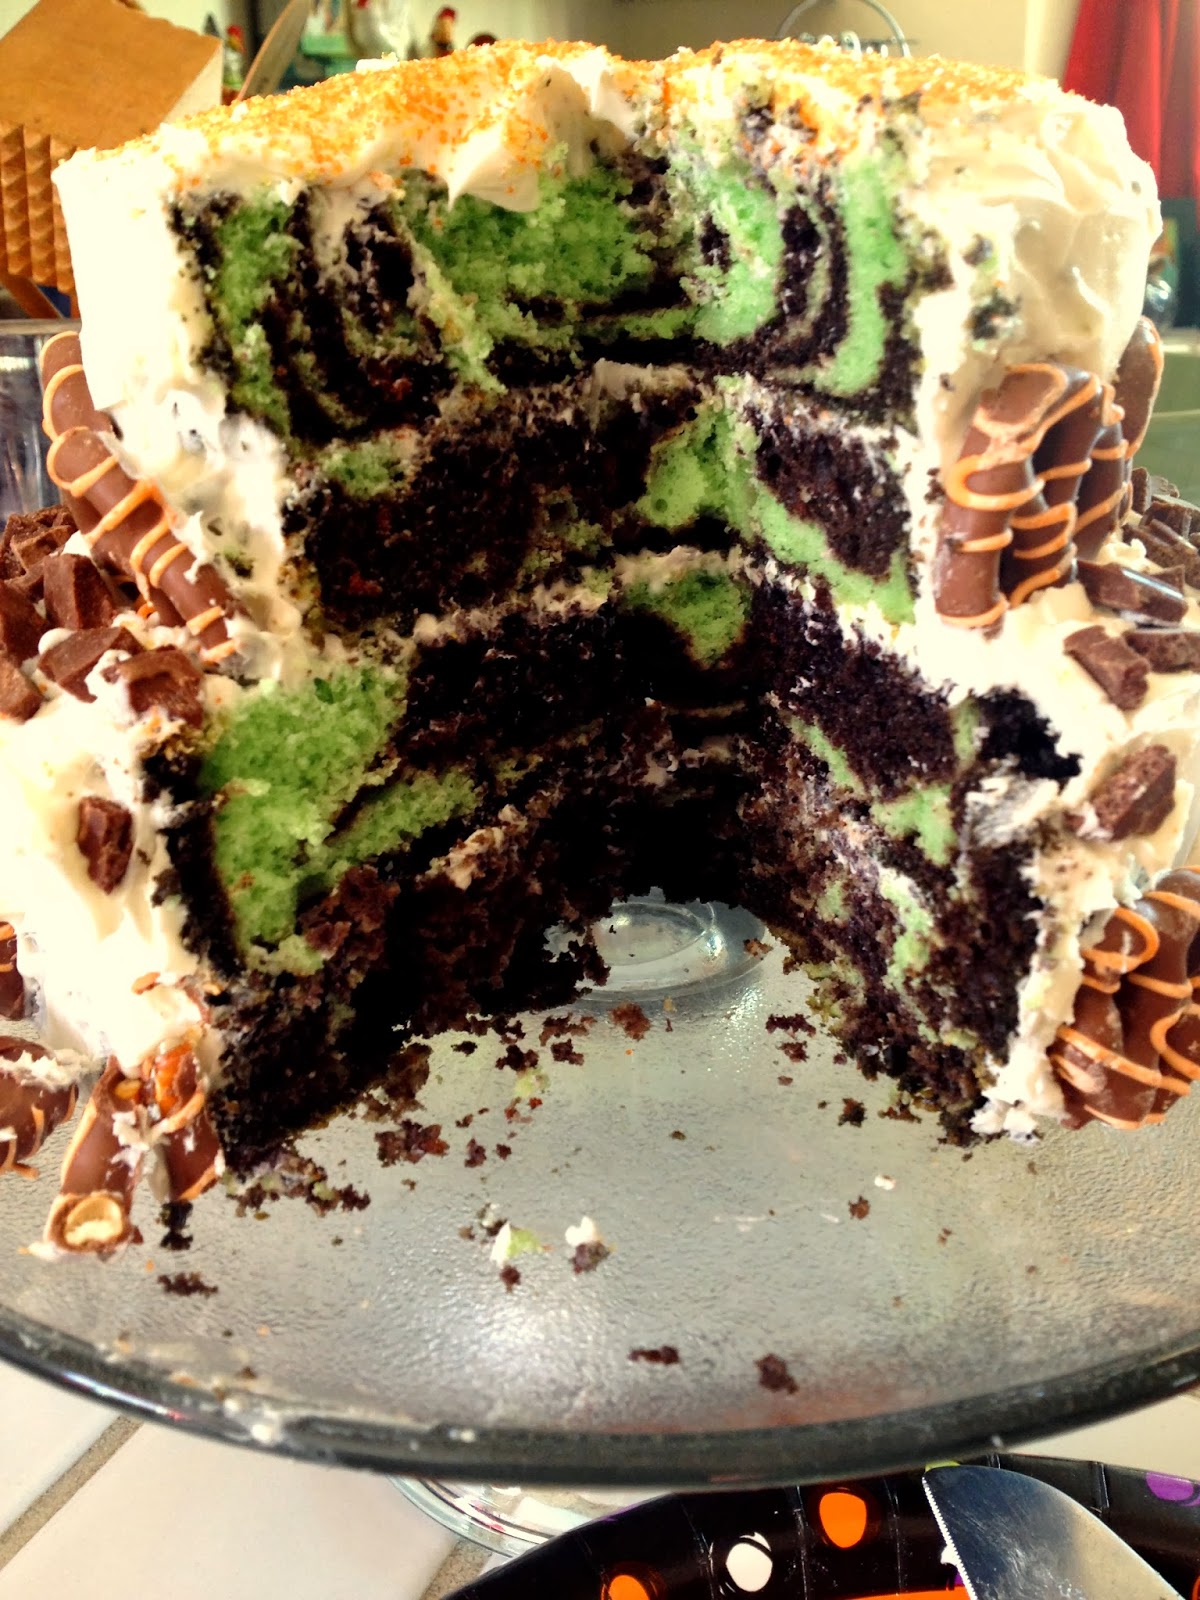
Bet you didn't see that one coming, did you?
For this cake, I decided to try my hand at making a zebra cake. I tried teaching myself, which went ok. I made a purple zebra cake for a second time the next week for a friend's birthday adapting the directions from King Arthur Flour and it went much better. The key is to make one of the two batters thinner than the other, so that it will spread when given the weight of the thicker cake batter. If made properly and with white cake instead of green cake (thank you food dye), it will look more like an actual zebra, which is great for kid's birthdays. Anyway, let's cut to the chase. Here's the proper way to make a zebra cake.
Ingredients:
2 cake mixes (1 chocolate and 1 white)
7 eggs (yes, you read that right, 7 eggs)
Black food dye (optional but recommended)
2 2/3 cups milk
1 cup vegetable oil (or for a richer cake, use melted butter)
Recipe:
In one medium-large bowl, mix together white cake mix, 3 egg whites (do not include the yokes!), 1 1/3 cup of milk, and 1/2 of vegetable oil or butter. Mix well using a mixer.
In another medium-large bowl, mix together chocolate cake mix, 4 whole eggs, 1 1/3 cup of milk, 1/2 of vegetable oil or butter, and several drops of black food dye.
In a greased, round cake pan place 2 large spoonfuls of the thinner white cake mix, directly to the center of the pan.
Then, on top of that, place 2 large spoonfuls of the thicker chocolate cake mix, directly in the center of the white cake mix, so that it looks like a bulls eye.
Place 2 large spoonfuls of white cake mix in the center on top of that, then 2 large spoonfuls of chocolate in the center on top of that, and so on and so forth. Watch as the thinner batter continues to spread under the weight of the thicker chocolate batter. Be warned, this is enough cake batter to make a 4 layered cake. If desired, you may make a two layer cake and use the left over batter to make both vanilla and chocolate cupcakes. Or, do what I did and make a tiered 4 layer cake, using 2 round cake pans of different sizes, then just eat the cake batter that's left over. Yummy.
Bake according to the directions on the box (typically 350 degrees for anywhere between 28 and 28 minutes depending on the size of the cake pan). The cake is ready when a toothpick can be inserted into the center of the cake and removed cleanly or with crumbs. Then remove from the oven and allow to cool.
After cooling, frost and layer the cake according to whatever grand master plan you have created. Then decorate as desired.

This cake was deliciously moist and looked SO COOL! I highly recommending making a cake like this. It's so much more fun than a marbled cake. It looks incredibly impressive. And it's super easy! Seriously, making this kind of cake will change your life. You'll never want bake a cake any other way again!

No comments:
Post a Comment